OOTP comes with three "skins":
- ootp18
- ootp18 classic
- ootp18 dark
The first one is the default skin. A skin comes as a skin.bin file which we build from the skin source files. If you want to modify a skin, you need the source files. If you have them, you can close OOTP, delete the skin.bin file and start OOTP again. OOTP will try to load the skin.bin file but will not find it because you deleted it. So OOTP will look for the source files, load them and build a new skin.bin file.
If you delete the skin.bin file AND don't have the source files installed, OOTP cannot start.
Obviously, the source files have to be installed in the correct folder.
To find the skin files, open the Game Settings dialog -> Troubleshooting tab:
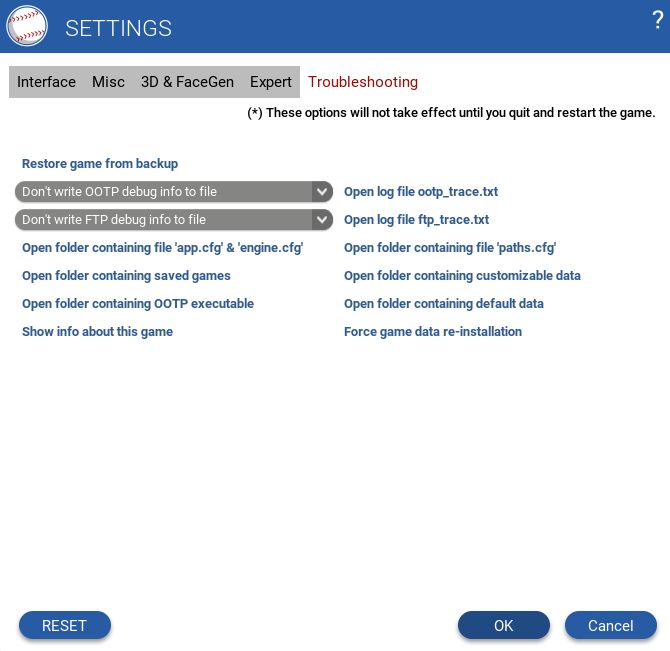
Click on "Open folder containing OOTP executable". This will open the folder in your system's file explorer. It will contain a data folder:

Open the data folder, then the skins folder. You'll find a folder for each skin. Open a skin folder. Usually there are only two files "skin.bin" and "defaults.cfg" in it. If that is the case you should NOT delete the skin.bin file because you don't have the source files to rebuild it.
But if there are also folders colours, constants, images and style_sets then you have the source files installed and you can savely delete the skin.bin file.
If anything goes wrong, just install the latest build on top of your current version.